Do you want to automatically shut down your Windows computer at a specific time? This article will show you how to create a scheduled shutdown task using the Task Scheduler. The Task Scheduler is a built-in Windows utility that allows you to automate tasks.
1. Go to Start > Control Panel > Administrative Tools > Task Scheduler.
2. In the Task Scheduler window, click Create Basic Task.
3. In the Create Basic Task Wizard window, type a name and description for your task. For example, you could name it "Scheduled Shutdown" and describe it as "This task will shut down my computer at 5:00 PM every night."
 |
| Control Panel -> Administrative Tools |
 |
| Task Scheduler |
 |
| Create Basic Task.. |
4. Click Next.

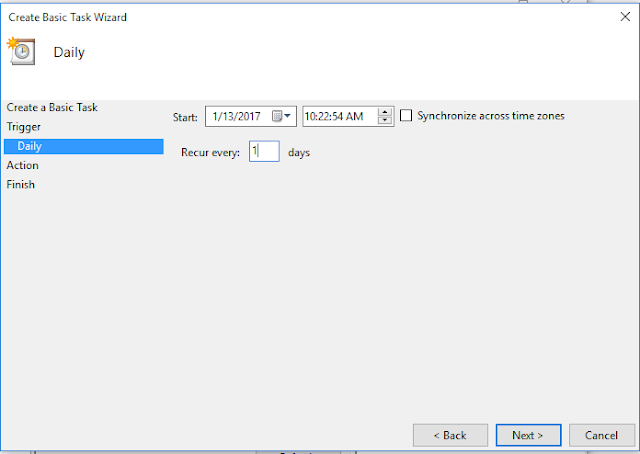
5. On the Trigger screen, select the Daily trigger and specify the time and day you want the task to run.
6. Click Next.

 7. On the Action screen, select the Start a program action and click Next.
8. In the Program/Script text field, type the following:

5. On the Trigger screen, select the Daily trigger and specify the time and day you want the task to run.
6. Click Next.


8. In the Program/Script text field, type the following:
C:\Windows\System32\shutdown.exe/s
The /s argument tells the shutdown command to shut down the computer.
9. Click Next.
 10. On the Summary screen, review your settings and click Finish.
 Your computer will now shut down automatically at the specified time every day.


Comments
Post a Comment